Can You Power Wash A Roof
26Thinking Of Pressure Washing Your Roof? Don’T! Discover Why High Pressure Ruins Shingles.
View details
Search the whole station
If you suddenly find that the water pipe is leaking,, the fastest and most reliable way is to cut off the broken section and install a professional-grade high-pressure water pipe repair joint.
Don’t use any strong glue, electrical tape or even epoxy resin. The operating pressure of these pipes is usually between 2,000 and 4,000 PSI, and those temporary patches will collapse in the second they come under pressure, and can easily lead to fatal “high-pressure injection injuries”. To get a permanent fix, the first step is to relieve the pressure and unplug the water pipe. Take a sharp art knife and cut one on each side of the perforation. The incision must be flat and vertical to completely remove the leaking section. Next, plug the stainless steel barb fitting or compression coupling from the repair kit into the two new cutouts. Finally, screw the stainless steel clamp or threaded sleeve in the set. This kind of mechanical splicing can completely restore the strength of the high-pressure pipe, allowing you to withstand the full PSI pressure of the machine at a very small cost, and there is no need to spend a lot of money to buy a new pipe.
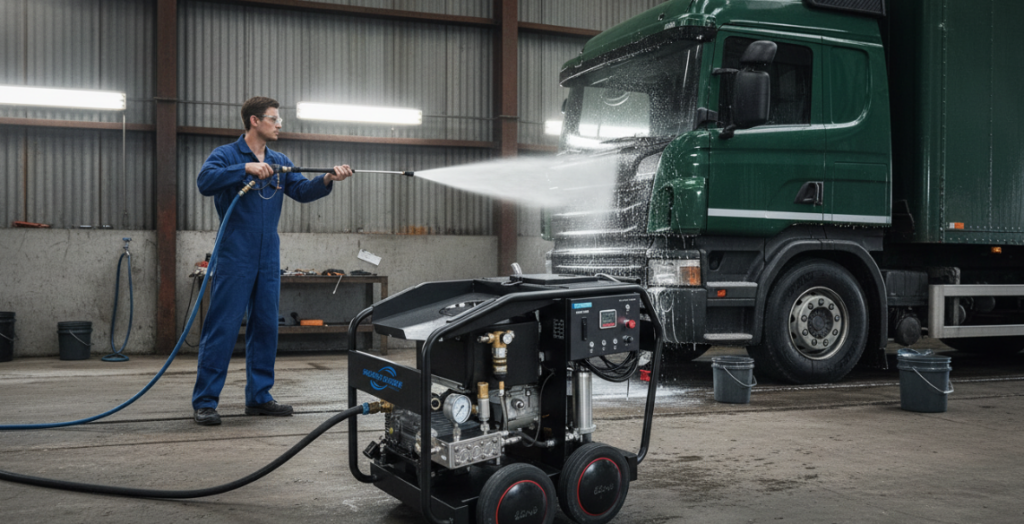
To understand why only professional joints work, you have to be a little awed by the physics of high-pressure water. Ordinary garden water pipes are only 60 PSI, and the tape may be able to make do with it for a while. The high-pressure washer can rush to 4,000 PSI. At this strength, the water jet from the small hole is as sharp as a scalpel.
Tinkering with tape or glue isn’t just useless, it’s literally playing with your life. These materials simply cannot be tightly bonded to the outer skin of the water pipe to resist internal pressure. Once the patch collapses, it tends to form extremely thin, high-pressure jets, which I referred to as “injection wounds”-water that can go deep into your muscle tissue, causing serious infection or even permanent damage. Therefore, only mechanical splicing through the coupling is the only way to rebuild the structural strength of the braided layer inside the water pipe.
O-Series High Pressure Washer 220V
The durable ceramic pump and powerful four-stage motor provide high-performance cleaning power, with adjustable pressure, support for customized voltage and power.
380V 1500Bar Water Blaster
1450 RPM ultra-high pressure water jet pump, high cost performance, suitable for 50Hz voltage. It’s a great tool for removing rust and deburring in factories.
Diesel Power High Pressure Cleaner
The pump unit is the core component of a cleaning machine or water treatment system. Composed of a high-pressure plunger pump and an electric motor
Foam Cannon for car washing
Foam Cannon S V3.0 (Thicker Snow Foam Technology) with 1/4 Inch Quick Connector for Pressure Washer, 34 oz Bottle (V3.0 (1/4″ Quick Connector) + SOAP Sample)
Before you start, make sure that the accessories in your hand are specially designed for high-voltage systems. Don’t make do with that plumbing brass joint, that’s looking for trouble.
Strictly follow this procedure, and the repaired pipe is as safe as the new one.
Pressure relief and preparation
Safety always comes first. Turn off the washing machine and water source, and pull the trigger of the spray gun to release all the residual pressure until no water drips out. Remove the pipe from the pump head and spray gun and find a flat and dry place to work.
Clean vertical incision
Find the leak. Use a knife to lower the knife about one inches from the hole. I must emphasize that the knife must be “vertical”-that is, completely perpendicular to the pipe. If the pipe is cut obliquely or the cut is rough, the pipe cannot completely rest on the inner stop of the joint, which is the number one cause of water leakage after repair.
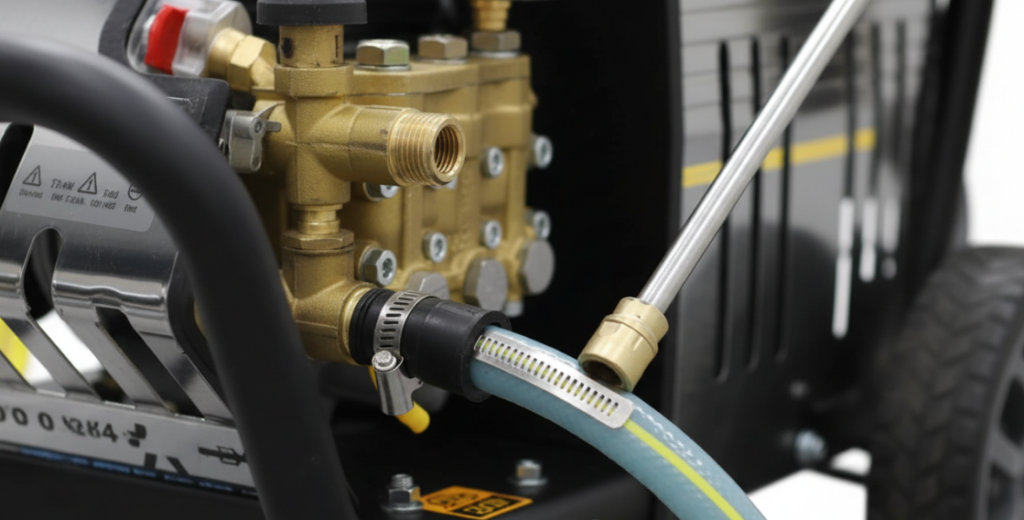
Insert connector and fasten
Slide the threaded sleeve or clamp into the tube before you plug the fitting. Poke the stainless steel barb fitting into the first nozzle. This job may take some effort. If it is too tight, it will be easy to lubricate it with some detergent. The other side operates as well.
After the barb is fully in the tube, slide the clamp or sleeve to the connection. Tighten firmly with a wrench. To put it bluntly, this step is to squeeze the pipe material into the barb of the joint to form a mechanical sealing ring that can resist thousands of PSI.
Don’t rush back to work when you’re done, you have to try it first. Connect the tubing back to the pump head and gun. First turn on the faucet and check if there is any water leakage under low pressure.
If there is no problem, start the washing machine and pull the trigger with the muzzle facing the safe direction. Slowly raise the pressure. A successfully repaired joint should show no signs of wetting or “sweating” at all. Following this professional path, you not only save money on new pipes, but also ensure absolute safety while working.
Author: Mark Winston
I’ve fixed thousands of power washers and seen every DIY mistake in the book. My mission is to provide you with professional, field-tested advice that prioritizes safety and helps you save money by repairing your gear the right way.

Thinking Of Pressure Washing Your Roof? Don’T! Discover Why High Pressure Ruins Shingles.
View details
Need A Pressure Washer For Your Foam Cannon? Learn Why High Pressure Is Essential For Thick, Scratch-Free Car Wash Foam.
View details
Yes, But Never Use High Pressure Alone. Use A Stripper, 1200-1500 Psi, And A 40-Degree Tip To Prevent Wood Damage.
View details
Learn How To Power Wash A Deck Safely Using 500-1,200 Psi And Oxygen-Bleach To Prevent Wood Damage And Splintering.
View details
HelloPlease log in